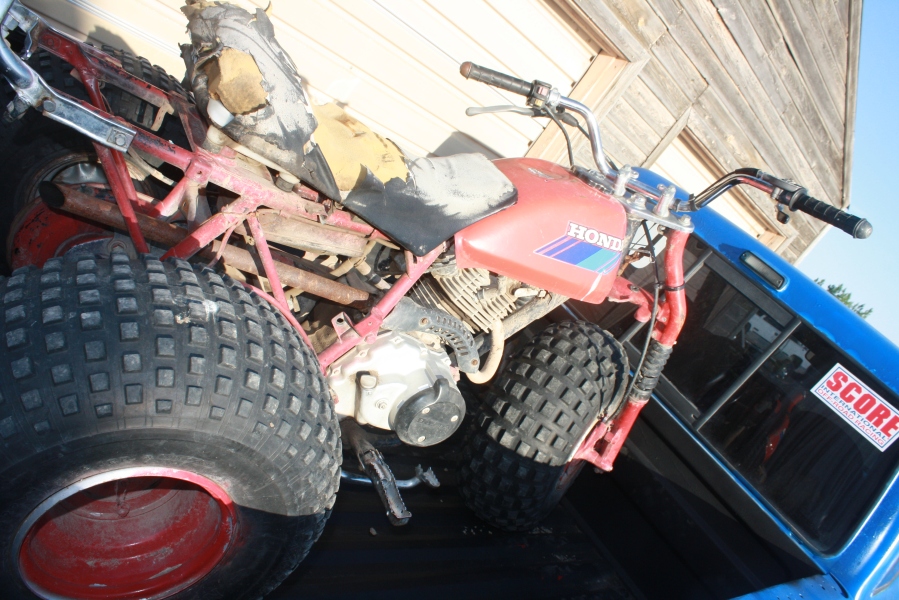
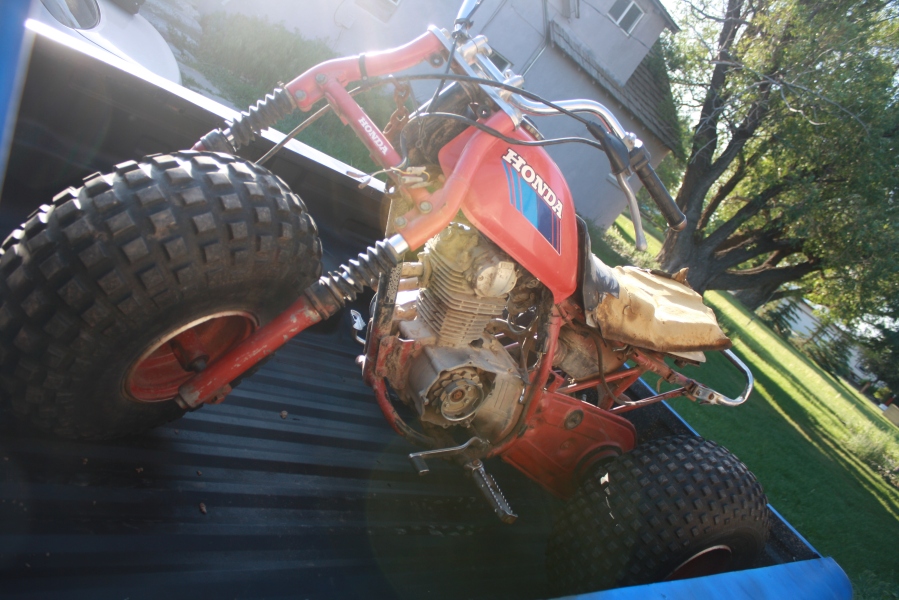
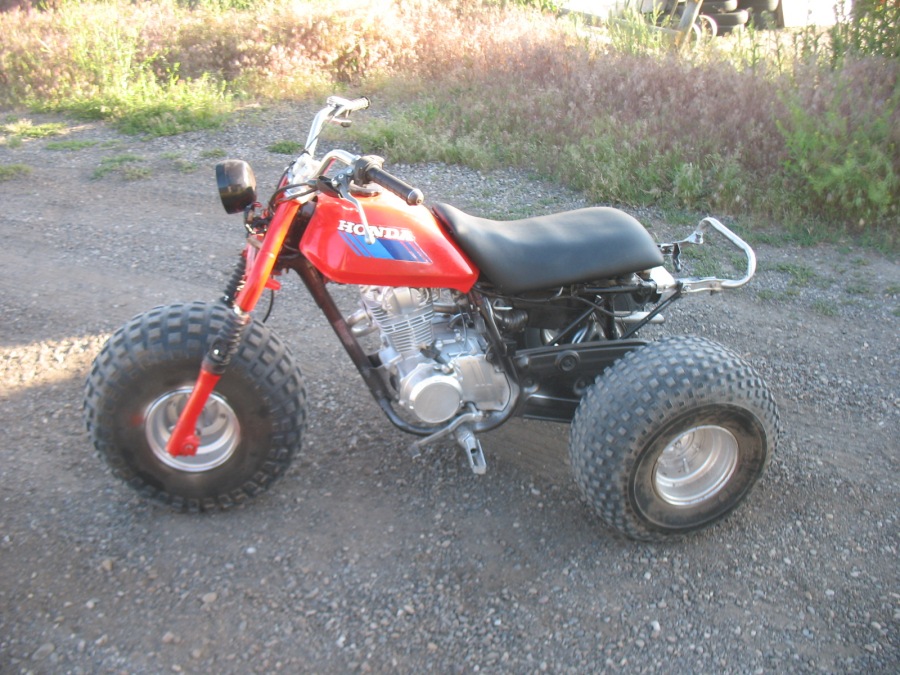
6/4/12: I took a compact equipment course at BYU-Idaho for a fun elective credits and to learn more about motorcycles and other compact equipment. I found this 1985 Honda ATC 200S on Craigslist for $90.
It was in pretty rough shape, but a good project for my class to work on. The guy I bought it from was actually Eddy Ours (former co-worker from Parts Service and who also helped me work on a 1980s Nissan Forklift).
Probably the most expensive component to replace on this would be the missing pull start assembly.
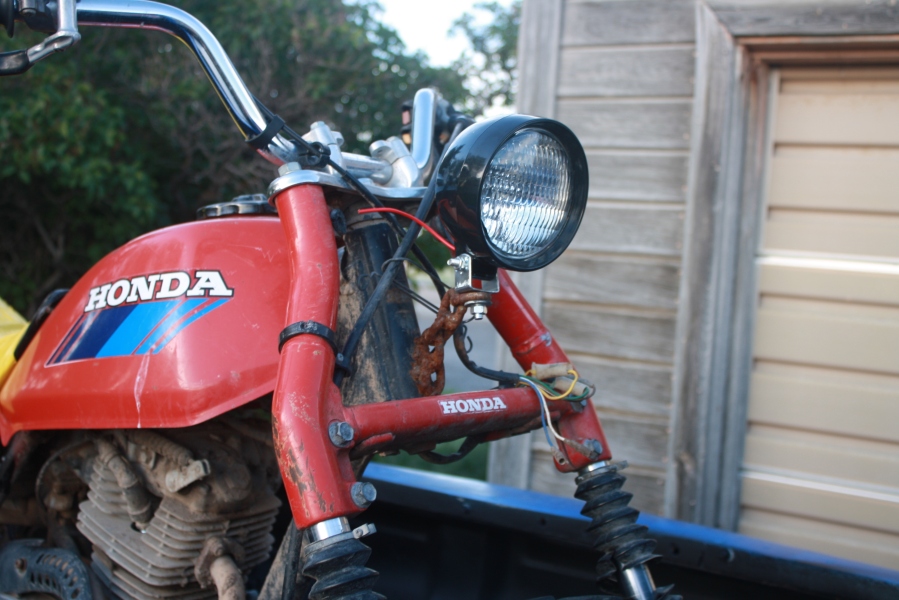
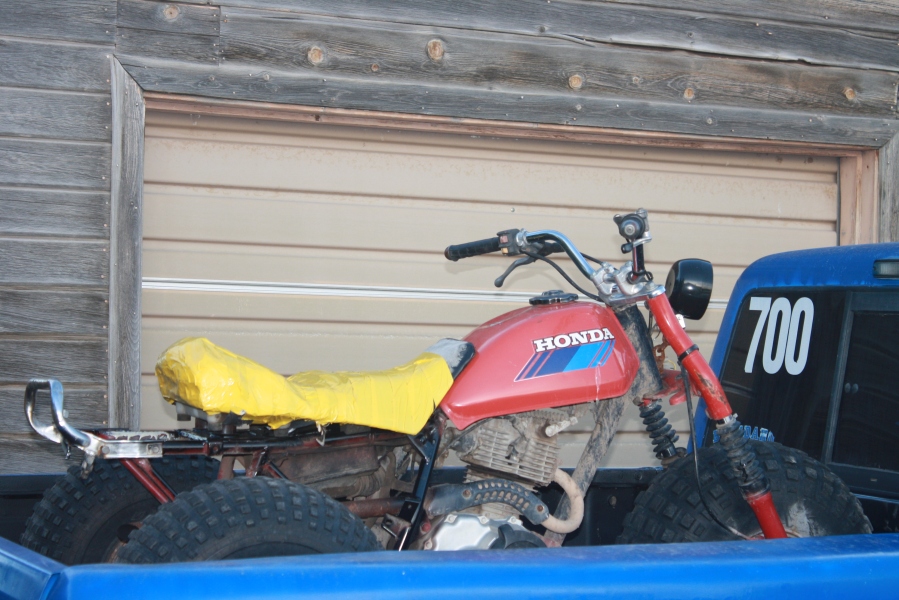
6/6/12: I bought a headlight ($9) and a tail-light ($5) from Wal-Mart.


Mounted the headlight to frame and duct taped the seat with yellow duct tape.
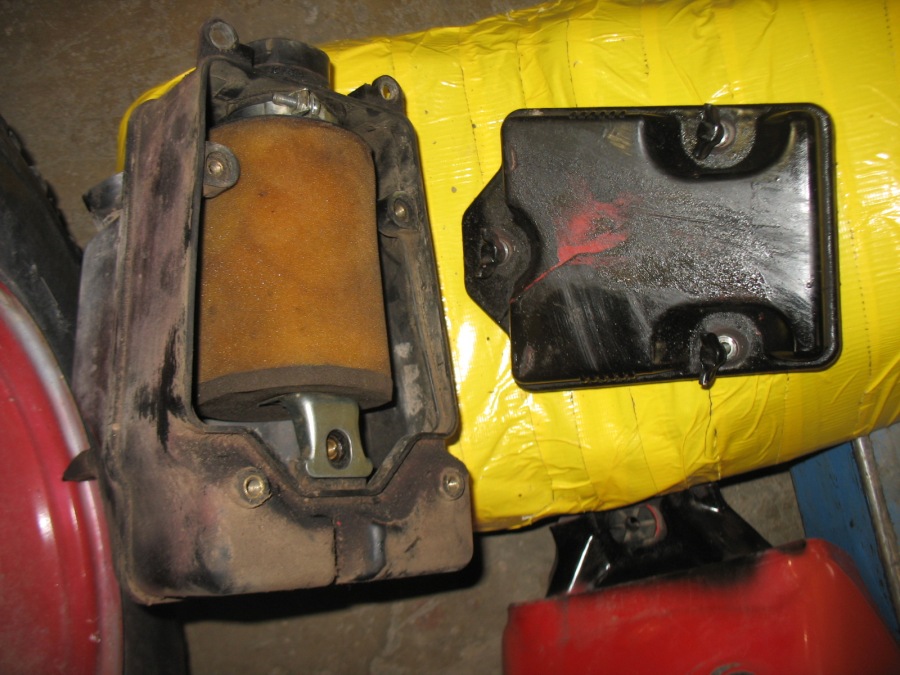
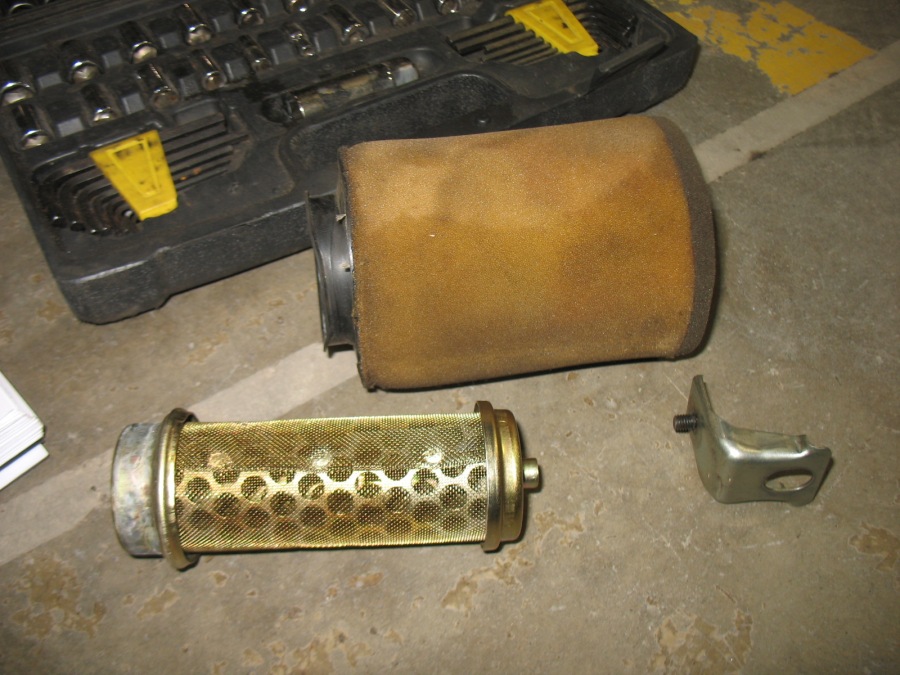
6/8/12: I washed the air filter that was located under the seat in the air box.
After cleaning the air filter element, I proceeded to work on cleaning out the carburetor.
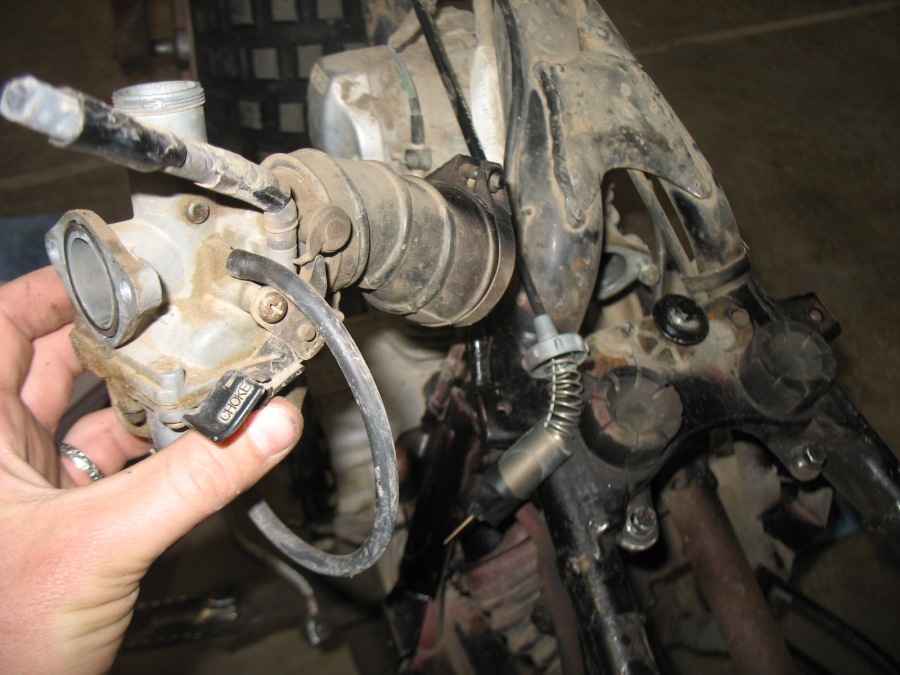
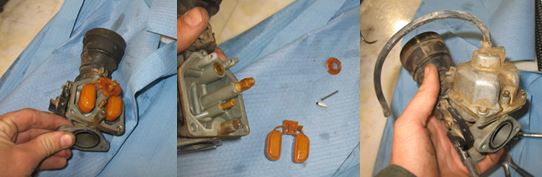
After cleaning both the carburetor and the air filter I was able to push start it. It is Alive! My brother and I had a lot of fun riding it around the yard we had out in Burton, Idaho.
6/11/12: I changed the oil today. ATC takes 1 quart of 10W40. ($3) The filter itself was cleaned with brake cleaner to remove any metal shavings or sludge build up.


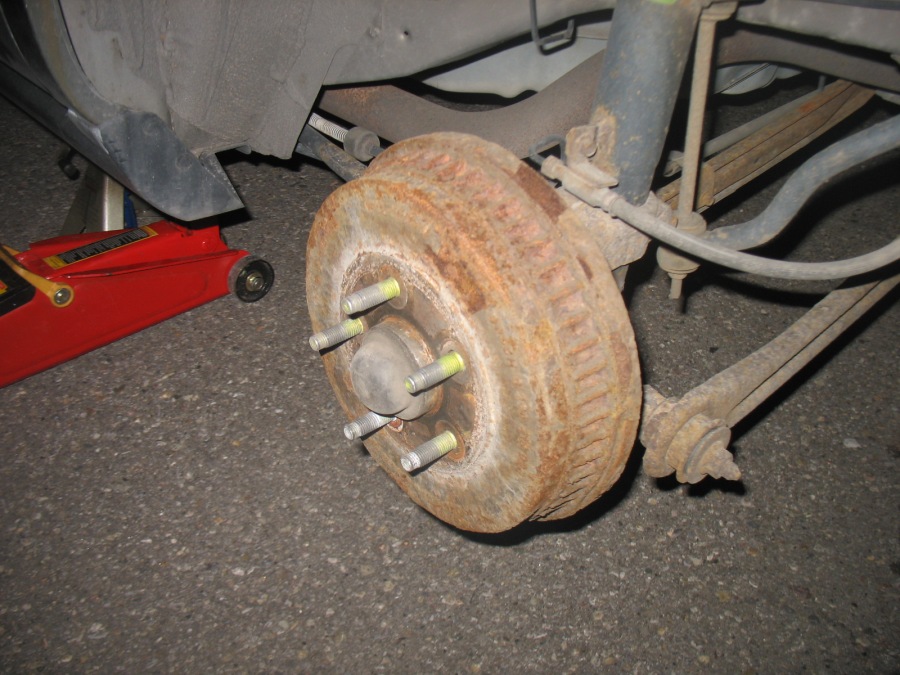
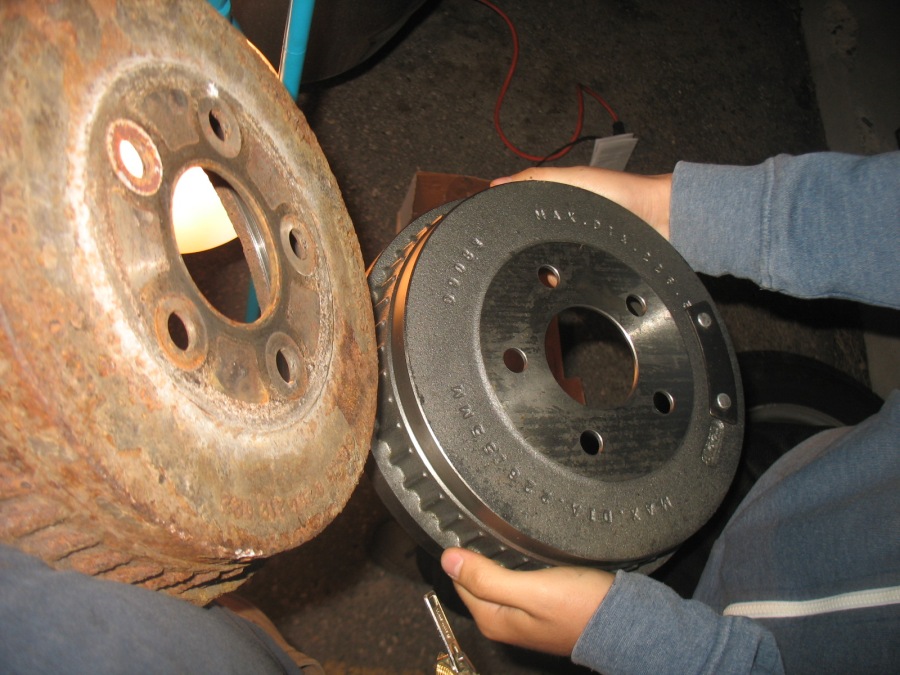
6/13/12: I removed the rear right wheel to replace the brake shoes in the drum brake.


6/15/12: I heated up the brake drum with a torch and pounded it off with a hammer. After knocking it loose I removed the brake shoes, which were worn down to the metal. I also removed the brake cam and greased it up, before installing the new brake shoes.
The front wheel was also removed and the brakes checked/adjusted. Surprisingly the front brakes were fine and only the back needed replacing.

6/16&18/12: I adjusted the brakes today and then rode the 3-wheeler around with my brother, Sam.


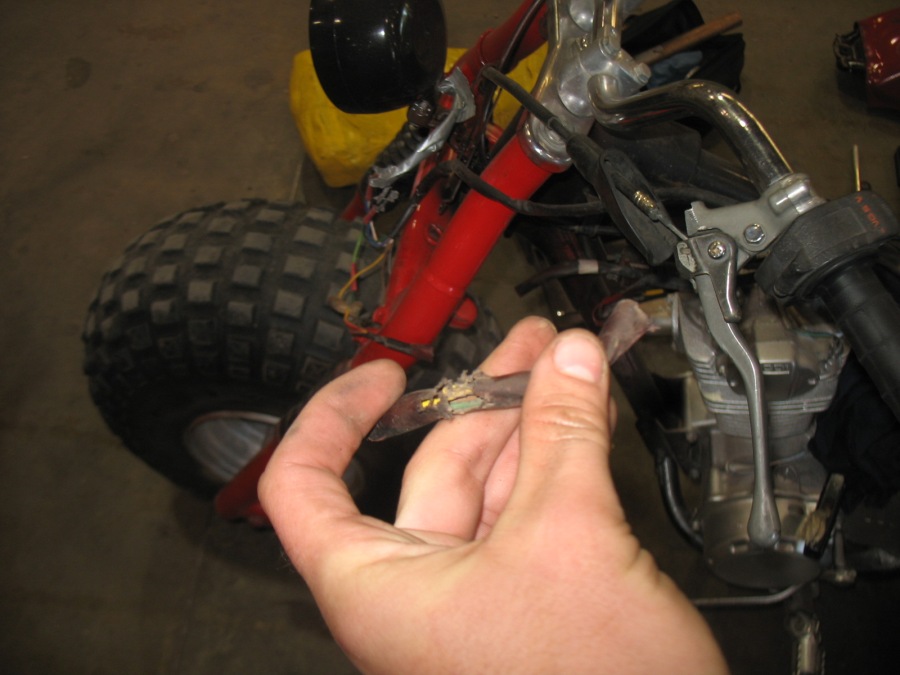
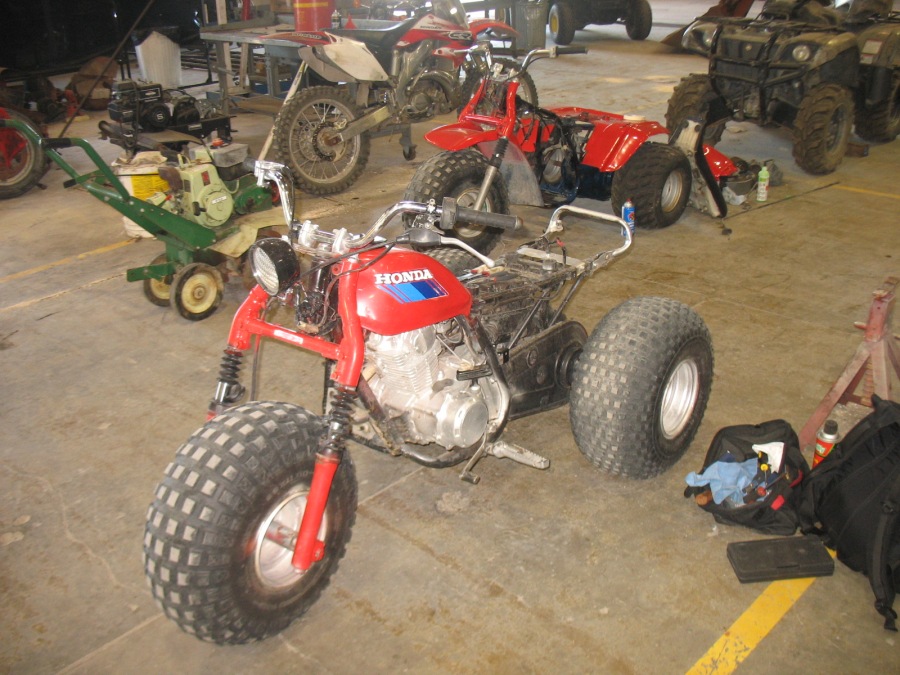
6/20/12: I fixed the headlight and tail-light today after finding an open circuit on the wiring harness. I also got a used pull-start assembly for ($80) off eBay and mounted that one the 3-wheeler. Whole lot easier then push starting it every time.

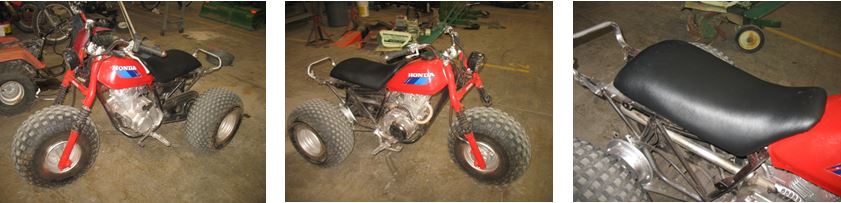
6/22/12: I got the seat upholstered and new foam ($30), a whole lot better than duct tape. I also took pictures of the working headlight and tail-light.


For some reason the funniest thing my brother and I liked doing with this 3-wheeler was pop wheelies. When the engine was vertical it would not get fuel to the carburetor and would shut off most of the time. Seen below is one of the times I flew off backwards into the grass (not a fun experience with a sunburned back).

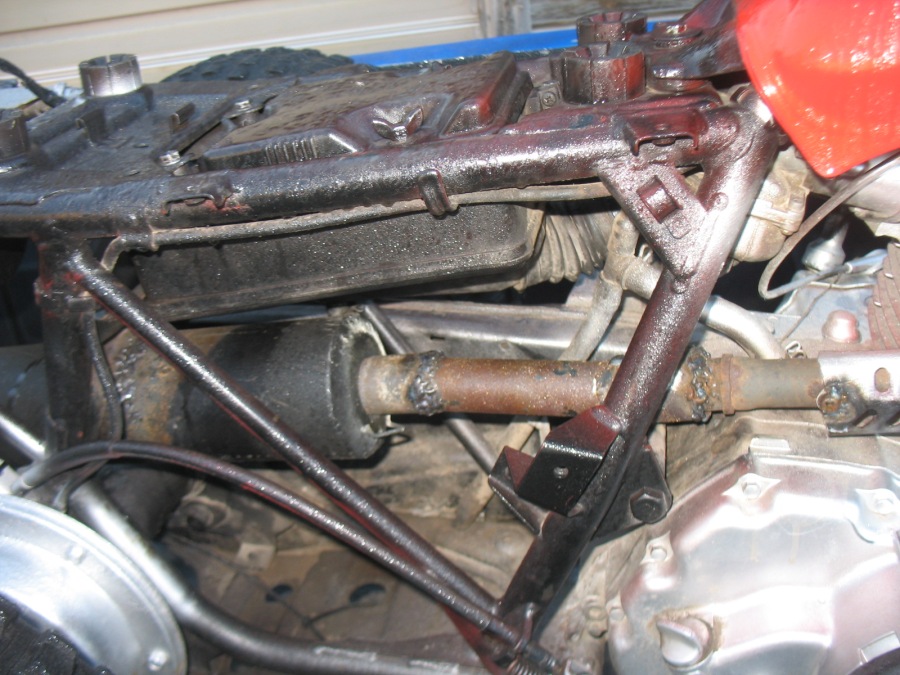
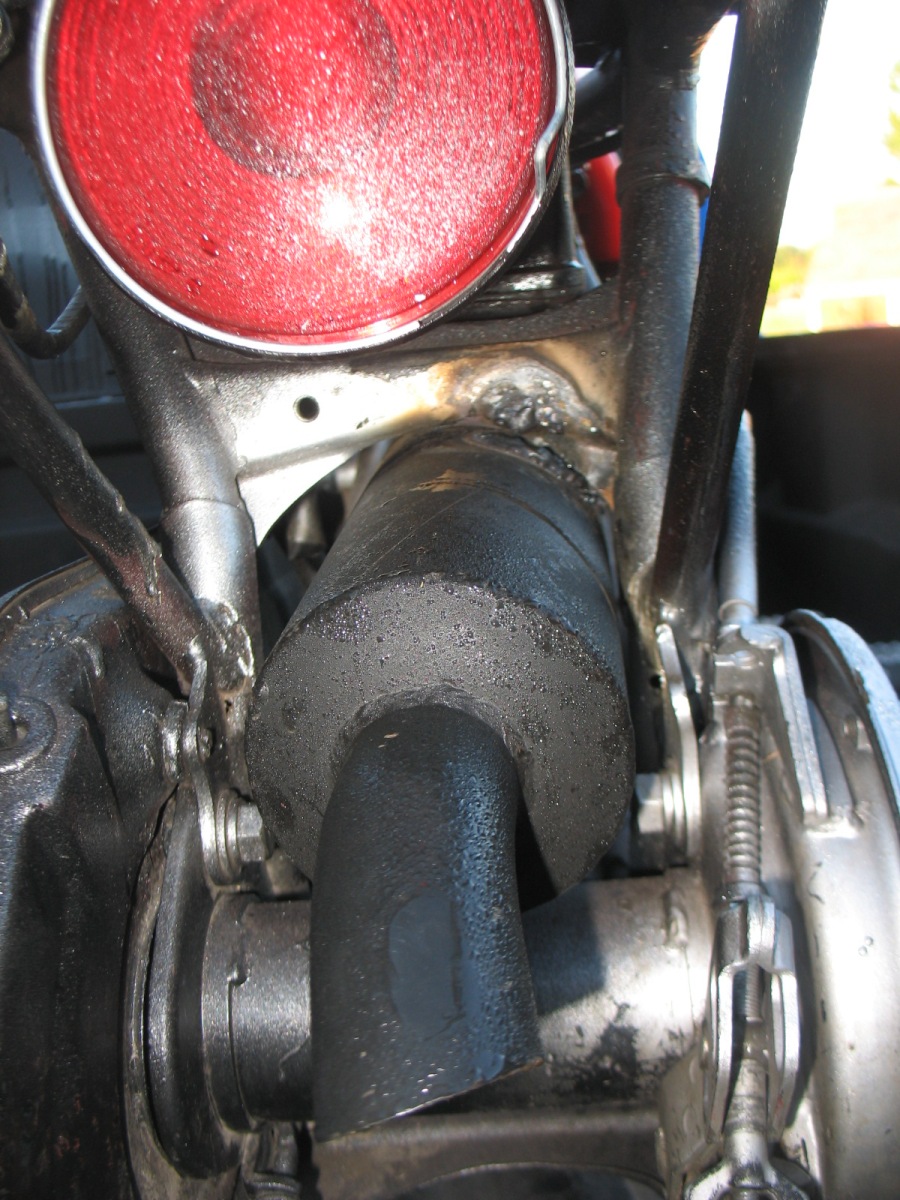
7/2/12: I got a new muffler ($40) for a 100cc-300cc engine and installed it to replace the straight-pipe.
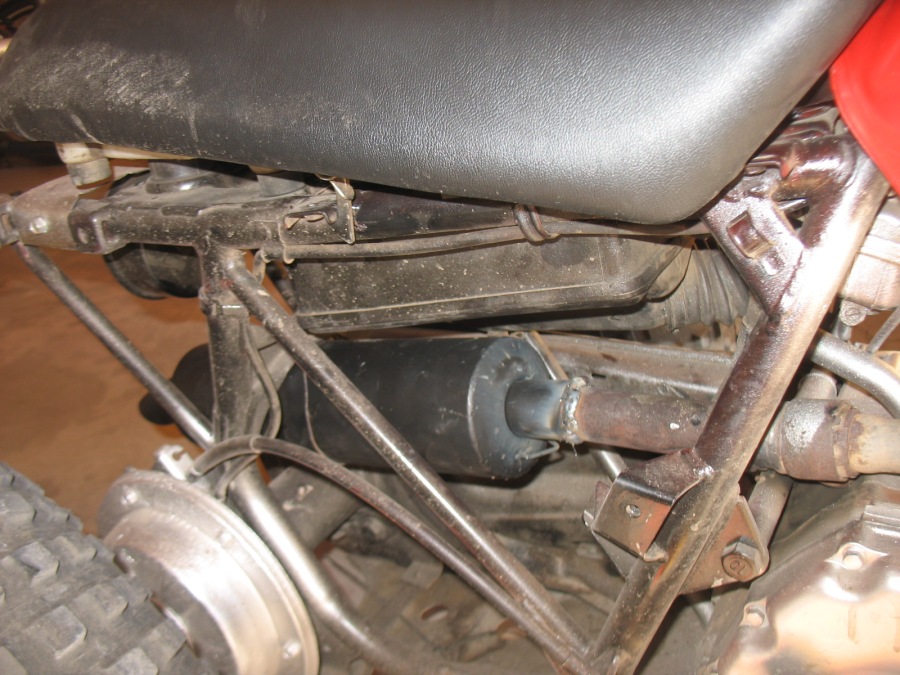

7/6/12: I had the muffler welded (Arc Welder) on a little bit better after it fell off from a broken weld on the 4th of July. I don’t have pictures but I welded (MIG wire feed Welder) it on even better on the 13th of July.
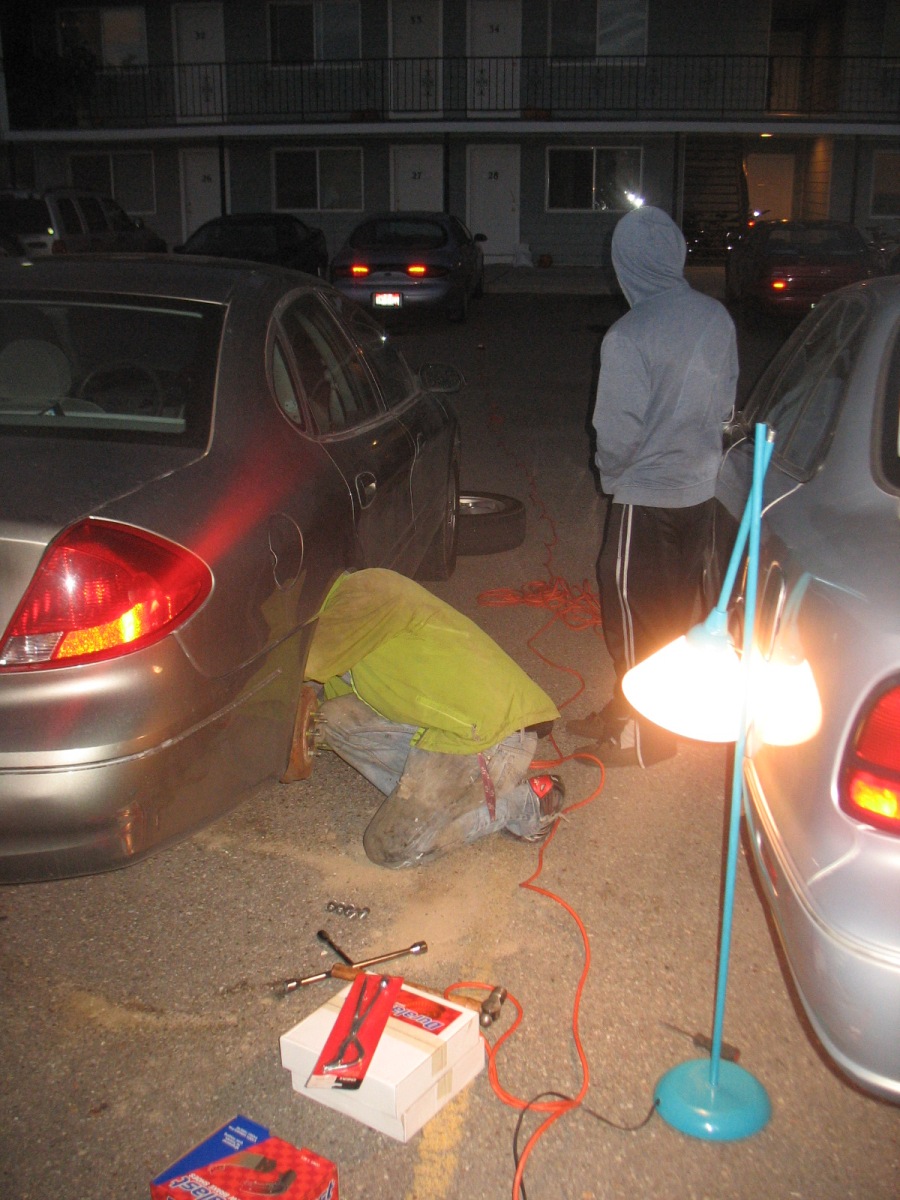
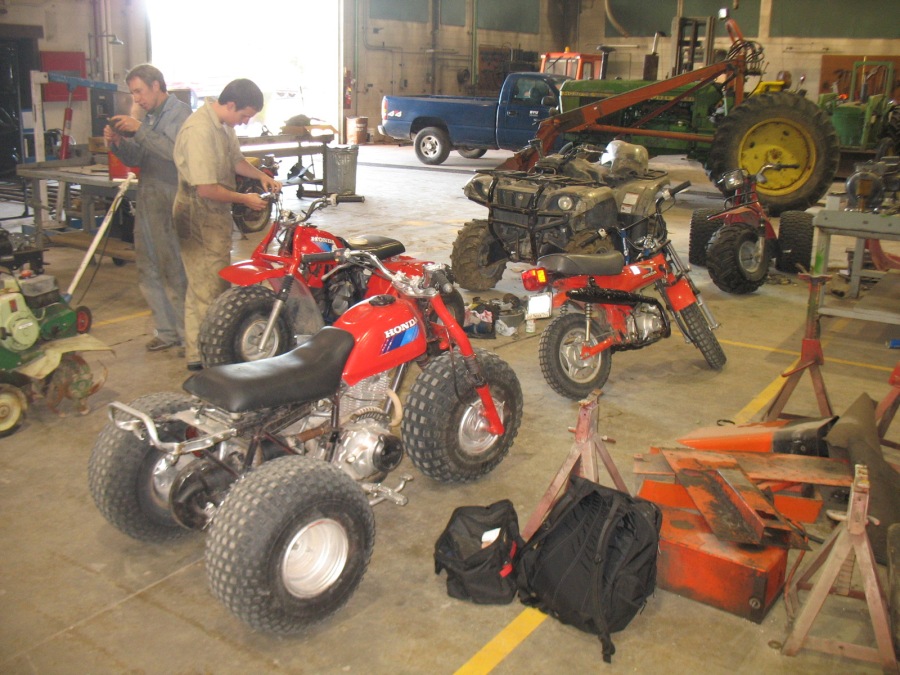
Typical day in the shop (my classroom for the compact equipment course), with Mark and Christian working on their own projects.
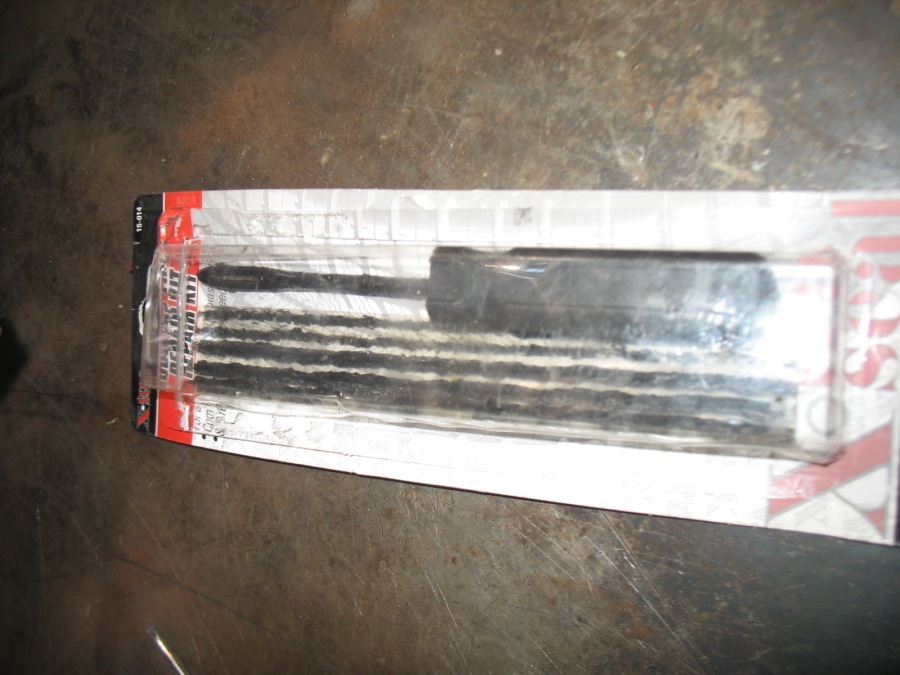
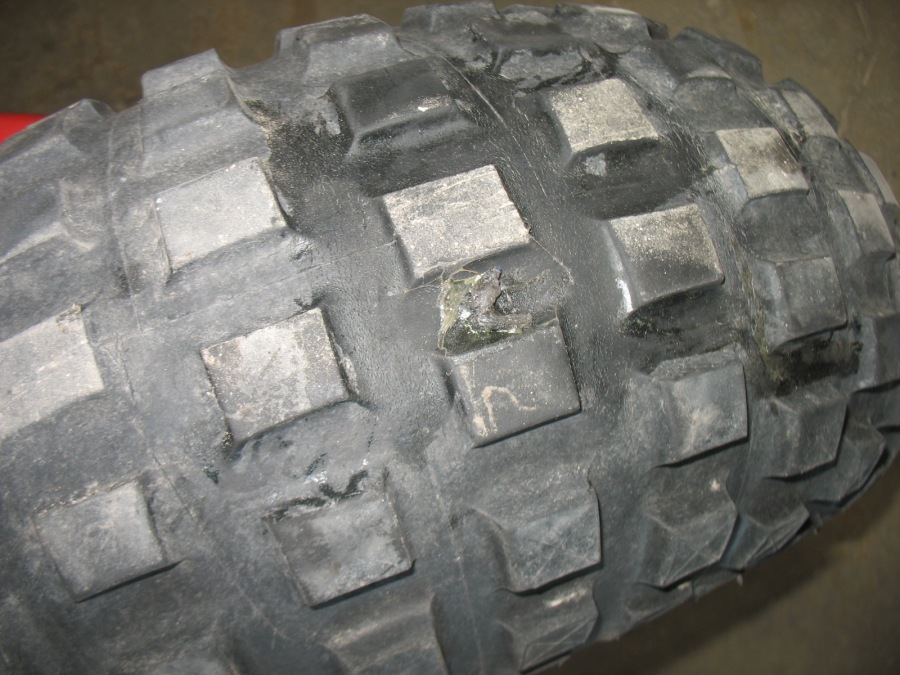
I got a flat tire on the 4th of July and fixed it in class today, using the tool below after fix-a-flat.
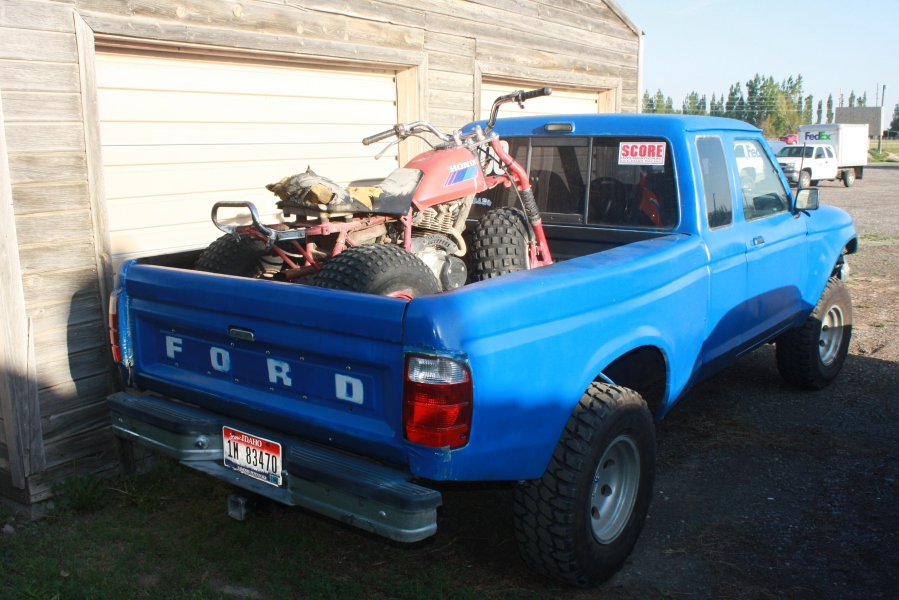
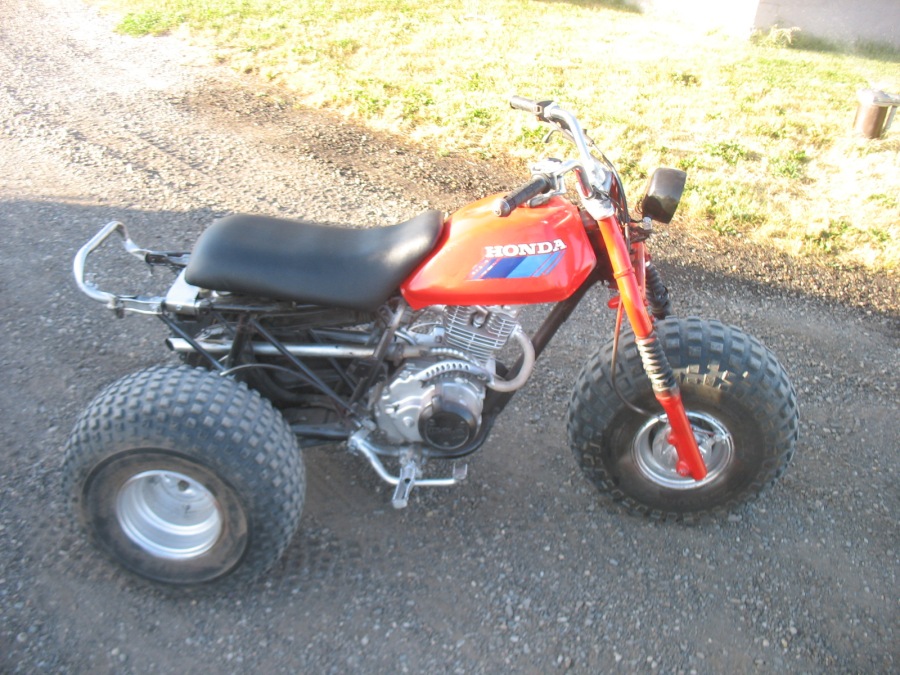
7/13/12: I sold the 3-wheeler and printed ATC200S 84-86 Manual for $300. I put a total of $312 into it which includes the manual and the front brake shoes which I did not use. It was a really fun project for the class and taught me a lot about motorcycles for my future.